Sunday, August 1, 2021

Costco Product Review: Safe Catch Ahi Tuna - An Encore Performance


Ahi Encore

Too bad it's not albacore tuna, then I could have titled this: "Encore for Albacore." 😆

I popped open what I thought was the last can of this lovely tuna yesterday. (Turns out there was another hidden in the food safe, so we're not out just yet.) 

I decided to make the classic "Tuna Salad" with this one. As promised in the  original Safe Catch review, I took a picture of it after I took it out of the can and before I crumbled it up: 


Not very impressive, huh? Don't let that fool you. 


It gets even better...


Look at those lovely chunks! 


And here it is, shredded and ready for the rest of the ingredients. The difference this time is: I did not drain the tuna. I was doing some reading on the Safe Catch website and there was a mention about leaving the liquid in to be absorbed after the tuna was shredded for use. Out of habit, I drained the last can and let one of the tuna loving doggies have the "tuna juice." (I had to give her a consolation prize this time.)

Tuna Salad

When I make tuna salad, I do it one of three ways depending on mood: 

1. I add mayo, a little lemon juice, and S&P (maybe just P-it depends on the tuna)

2. I add mayo, mustard, chopped pickles, a chopped hard-boiled egg, a dash of Tabasco, a little lemon juice, and S&P. 

3. I make "PMF Tuna Salad." I'm not going to translate that here because I'd like to keep the blog "Rated PG," so use your imagination or send me an email. 😄

For PMF Tuna Salad, see the pics below. I add chopped pickles, chopped egg white, and employ a special method for the rest of the ingredients. 

This is it: 
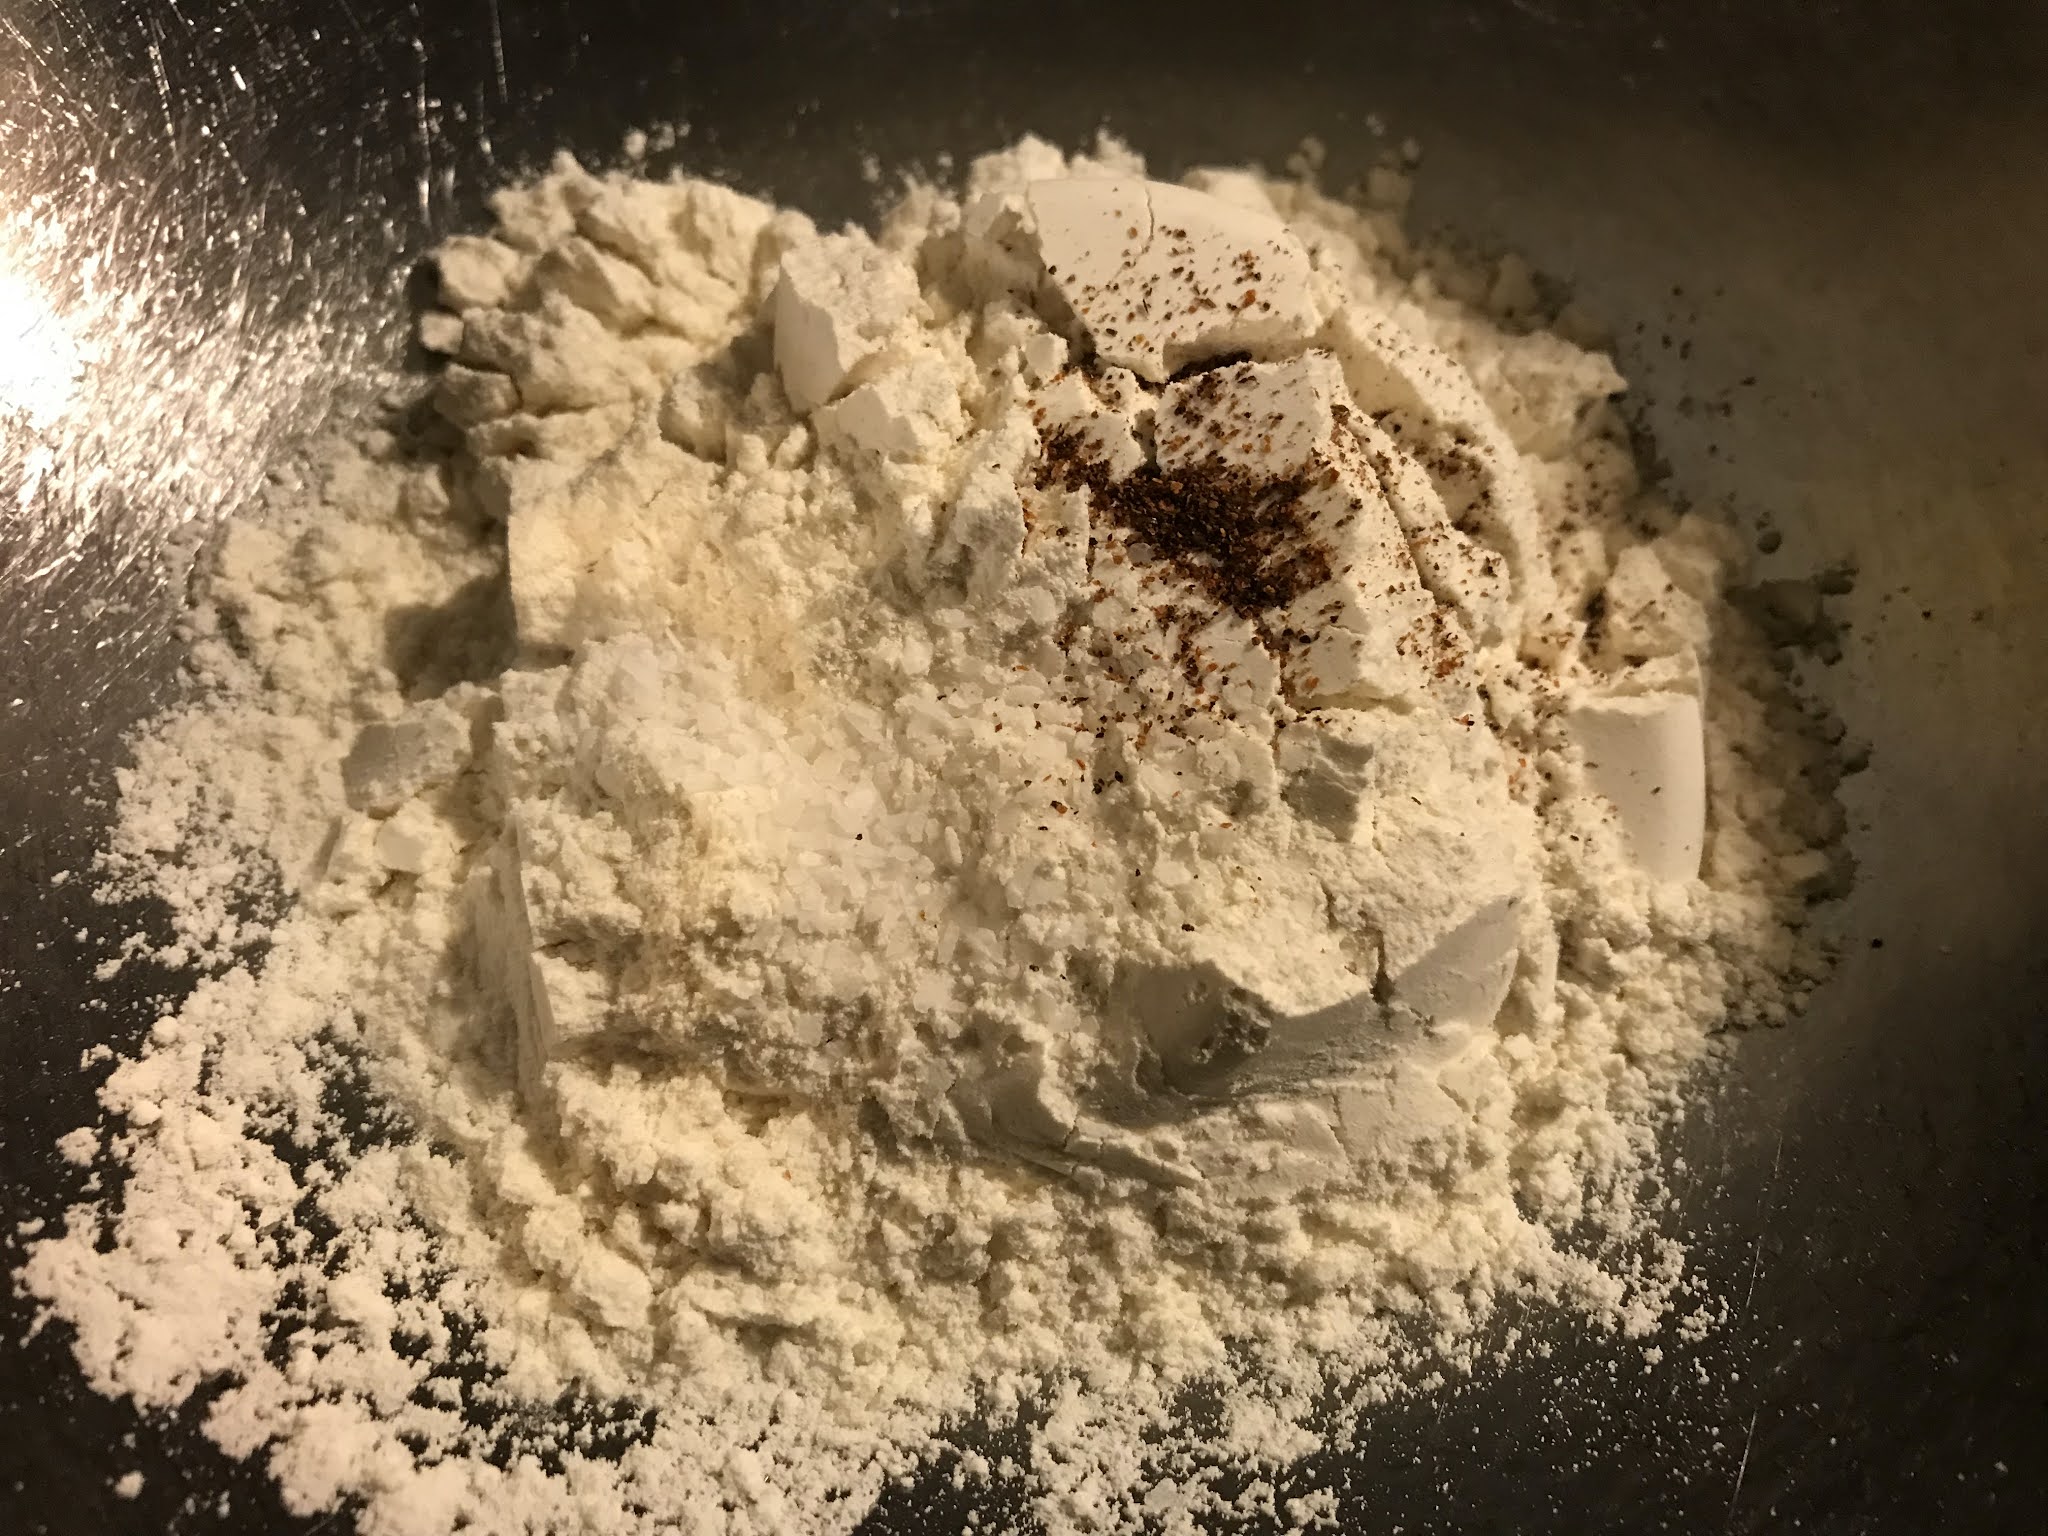
  • I mash the egg yolk in a separate bowl... 
  • Add 1 to 1 1/2 Tbsps. mayo, (Duke's Mayo is the current reigning champion in this house)
  • Add 1/2 to 1 tsp. Dijon mustard 
  • Add a couple of squeezes of lemon juice (maybe 1/2 to 3/4 tsp.) 
  • Add  about 1/2 tsp. Worcestershire sauce
  • Add a dash of Tabasco
  • Add 1/8 to 1/4 tsp. of shaved/pulverized onion (red, but white will do) 
  • Add 1 to 1 1/2 tsps. Extra Virgin Olive Oil (omit this step if tuna is packed in oil)
  • Add S&P
As for the onion, what I really go for is the "essence of onion." Just a few drops of onion juice -- it's not even necessary to have pieces or onion pulp. But under no circumstances should chunks of onion be allowed. If it's terrible tuna, that's one thing. But not for this tuna. We want to showcase the wonderful flavor, not kill it with too much onion. 

If you like your tuna salad to have even more of a crunchy texture (aside from the pickles), you can add a tiny bit of celery to it, but not too much. Try to add something that's a little more bland for texture, like chopped water chestnuts. Celery and I are always on shaky terms, as you can read here: "The Atrocious Fetor of Celery."

I only use one hard-boiled egg per can of tuna when I make tuna salad. (You know, if I wanted an egg salad, I'd make an egg salad.) 2 eggs per can is just too much for me. Of course, if food was scarce and the tuna salad needed to be stretched. I would use more than one egg. Absolutely. (BTDT, got the shirt.) I'm picky about certain food items and at present, I'm fortunate enough so that I can be picky about it. Hence the title of this PMF Tuna Salad. I'm sure you'll be able to figure out the rest of the words now. 😀


Stir all ingredients until well incorporated...


Then add the "PMF Dressing" to the tuna and the other elements and mix well. 

Add more mayo if that's your wish, but I always abide by the "Rule for Salad Dressings" and simply "cloak" the ingredients with the dressing, rather than drown them in it. 

That brings to mind a local eatery here that makes a delightful broccoli salad...or it would be if the vegetables weren't screaming for lifesaver rings because they're drowning. Okay, it USED to be delightful, but someone decided that it needed more dressing (it doesn't). I haven't ordered it again since that happened though. Maybe it was simply a mistake. 

So CLOAK your ingredients, Folks! Do you want to end up on the local grapevine? 

Gossip Hound #1: "She offered me a tuna sandwich, but I couldn't find the tuna!"

Gossip Hound #2: "Really? We have to warn everybody!" 

Okay. I digress. Let's carry on, shall we? 

Tuna cloaked in PMF Dressing


Grand Finale

This tuna salad called for an unobtrusive bread...not a bread with flavors that would overpower the taste of the tuna, i.e. - "a bread that's better for your health." I'll try it with healthier bread eventually, but this time I used plain ol' Wonder Bread. I use it on occasion when I want to taste the ingredients more than the bread (like with PB&J). 

Was it good? It was VERY good. Was it better the next day? Oh YES! So make it the night before you'll use it, if you can. That usually works if you're making it for a party or something, but if you're like me, when I crave a tuna sandwich, I want it immediately, so in that case...just make plenty so you have leftovers! 

PMF Tuna Salad on "Throwback" Bread
Served on a practically vintage platter

Happy Eating! 

Friday, July 30, 2021

Waking Up to Excitement with Tiramisu Cookies


I woke up and checked email this morning and found that my recipe for Tiramisu Cookies was chosen to be featured on...wait for it...Delishably.com! 

In the interest of taste buds everywhere, I will get back in the "laboratory" as soon as possible for more sweet experiments. 

This is happening at a time when Texas temps are getting higher, I'm still fighting to catch up with yard work thanks to the unusual rain amounts we experienced last month, and my workload for process serving is increasing by the day. *taking a deep breath*

That's just daytime hours though. There's plenty of time in the wee hours to conduct experiments in the lab! 

Here is a link to the full recipe for my version of Tiramisu Cookies: 


If you make this recipe, drop me a line either here or there to let me know how you like it. If you need any help or troubleshooting with the recipe, let me know! I really need to make a picture tutorial for this one as well as the Bienenstich Cookies. That's on the list too, so keep an eye on this space. I'll get there! 

Thursday, July 29, 2021

Kitchen Tip: Food Hack for Leftover Quiche

 What Can I Do with My Leftover Quiche? 

So you have some leftover quiche, but there's not enough to go around because you had some unexpected guests drop in around lunchtime? 

Here's what I did with mine. I threw it in a frying pan with just a small amount of butter -- (oil is okay too, but butter...well...you know), and chopped it up with my spatula while heating to make sure it was heated through. Then I served it on flour tortillas for a quick, "no hassle" meal. 

*Note: The quiche I used was a quiche that had a "self-forming" crust. I suppose you could do it with traditional quiche, since we live in a world where some people don't mind extra starch on their sandwiches, tacos, or burritos. (Like French fries inside a burger, or a flour tortilla with 100% potato filling, etc.) 

Just add your favorite salsa. No extra cheese required! 

Spinach & Mushroom Quiche Breakfast Burrito 

Tuesday, July 27, 2021

Costco Product Review: Safe Catch Ahi Tuna


This tuna is outstanding! 

I'm sending a huge, "Thank you!" to Costco for making this product available. 

There is nothing in the can except tuna that was cooked in its own juices, and a little sea salt. The flavor is out of this world. This is easily the best canned tuna I have ever had thus far. 

It knocked my previous favorite, tuna in a glass jar, down to second place. Now that one was good. REALLY good, but this one is so much better! 

I will be picking up a jar though, so I can do a side-by-side comparison of these two, just to confirm. We can't get it locally, but on the next H.E.B. trip, I am making a beeline for that jar. I found out that some H.E.B.s carry the Safe Catch tuna too, so I'll be looking for that as well. 

I have some pics below. I should have taken a pic before I separated it in the bowl. It was indeed a tuna steak. It was fabulous "as is," so I didn't want to add much to it on this first go round. I just added a bit of S&P, a little lemon juice, a dash of extra virgin olive oil, and about a tablespoon of mayo. (Duke's).

I had to stop myself from eating more than one sandwich. It didn't need any accompaniments either, like tuna usually does. 

Simply excellent! 

I visited the company's website and found that they also have salmon, sardines, and mackerel, made the same way. If you order from the site, ground shipping in the U.S. is free. They also sell pouches of tuna and have a recycling program for those: Send the empty pouches in for them to recycle and they will reward you with a coupon to use for ordering from their website. 

Check the website out by clicking on the link below: 


Here is a photo of the tuna: 


And a photo of the tuna after I added the few ingredients mentioned above:


The Label


They are serious about the quality of their product, and it shows. There is no BS about this product. The proof is in the taste. Get some as soon as you can and try it! 

Happy Eating! 

Sunday, July 25, 2021

Recipe: Spinach & Mushroom Quiche With Self-Forming Crust (Picture Tutorial)


Spinach & Mushroom Quiche
(with 6 cheeses)


Quick-n-Easy Recipe

This recipe is great for a quick meal with a simple salad as as side. Preparation moves along pretty quickly, you can reduce the prep time a bit if you buy sliced mushrooms instead of whole. 

First, gather your ingredients and tools: 

  • 8 oz. fresh mushrooms (Button or Baby Bella), sliced 
  • 10 oz. fresh spinach 
  • 1/2 medium-sized red onion, sliced thinly
  • 1 clove garlic, minced
  • 1 cup Muenster or Mozzarella, shredded
  • 1/2 cup Mild Cheddar Cheese, shredded 
  • 1/4 cup Feta Cheese, crumbled
  • 5 egg yolks
  • 1 whole egg
  • 2-3 Tbsps. light olive oil (or melted butter)
  • Cooking oil spray as needed
  • 1 cup half & half, (or make your own with 1/2 cup heavy whipping cream + 1/2 cup milk)
  • 1/2 cup AP flour
  • 1/2 tsp. baking powder
  • 1/4 tsp. cayenne powder, (optional)
  • S&P to taste (plus a couple of pinches during veggie sauté)

Over low to medium head, sauté Onion


I like to slice into 1/4" thick slices, but you can slice a little bigger if you want. 

Chop Garlic


While onions are sautéing, mince garlic. I usually use a garlic mincer, but lately I have been opting to use my chef's knife instead. 

When onions look like this...


...add garlic to pan


Your onions should be pretty pliable when you add the garlic, and a little caramelized. You can let them caramelize a little more if you prefer. After adding garlic, sauté for 30 seconds to 1 minute before adding next ingredient. 

Add sliced mushrooms


Toss mushrooms with the rest of the ingredients, then sprinkle with a pinch of salt to help the mushrooms release their juices. (I always use Kosher salt in my recipes, with a few exceptions.)

When the mushrooms look like this... 


...add 1/2 of the fresh spinach & toss with the other ingredients 


After the spinach wilts a bit...


Add the rest of the spinach & toss with the other ingredients...


Sauté until spinach is completely wilted. 


Sprinkle with another pinch of Kosher salt while sautéing. The spinach needs to wilt--so no need to cook it any longer after that, since it will be cooked again in the oven. Just set it aside to cool. (If you opt for frozen spinach, thaw it out ahead of time and squeeze as much liquid out of it as possible by using spoon and a sieve.)


At this point, set oven to 400° and prep the rest of the ingredients. 

Grate your cheeses


I ended up with six cheeses in this quiche: Swiss, Monterrey Jack, Cheddar, Mozzarella, Asiago, and Feta. The total amount was pretty close to the total amount in the ingredients list above, though it may have been a little more. You can mix it up any way you like -- using white cheeses with spinach is my personal preference. The feta is really optional, but do use it if you have it. It adds extra little pops of intense flavor. 

Prepare  the batter


Whisk flour, baking powder, salt, and cayenne together in a mixing bowl until well combined.


Add 1/2 & 1/2 to dry mixture and whisk together, then beat eggs in a separate bowl until well mixed. Add eggs to batter and whisk until thoroughly combined. (*Note: In the interest of saving time, I used 3 whole eggs this time, instead of 5 yolks and 1 whole egg.)

Fold in the cheese


Add vegetable mixture...


...and fold in until completely incorporated


Pour mixture into oiled, 10" quiche pan


I usually place the quiche pan on a cookie sheet before sliding it into the oven. If you don't have a quiche pan, don't sweat it. Just use a deep dish pie plate or a similar shallow baking dish. I only have a 9" quiche pan, so I made a mini quiche with the leftover raw material (I just didn't bake it quite as long). 

Bake at 400° for 10 minutes, then kick oven down to 350° and bake for an additional 25-30 minutes. You know your oven, so check it near the end of cooking time. Test it with a toothpick or a thin knife. You shouldn't see any egg (though you might see some cheese). 

Let your quiche cool for 10-15 minutes...


...then enjoy with a salad or other side dishes.

Let me know if you enjoy this recipe. If any part of the instructions isn't clear enough, or you notice any errors, just drop me a line. 

Happy Eating! 😘