Tuesday, July 27, 2021
Costco Product Review: Safe Catch Ahi Tuna
 I love food. I love talking about it, creating wonderful dishes, and feeding people. The kitchen is my happy place and I love conducting experiments there, whether the dishes are savory or sweet. I like to blog about it when I have time, in hopes that I might help or inspire others. I don't consider myself a food snob, though I am picky about how certain meals are prepared. I'm happy with a simple meal at home, like beans and cornbread, as well as a meal in a fine-dining establishment (and everything in between). I hope you enjoy my blog and leave me some feedback if you have time.
Sunday, July 25, 2021
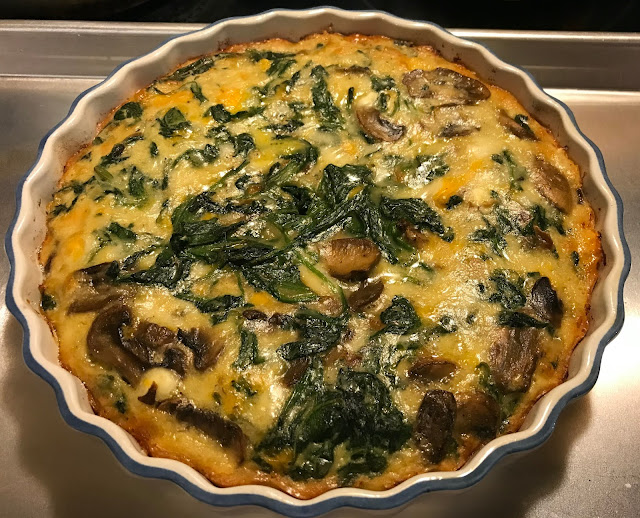
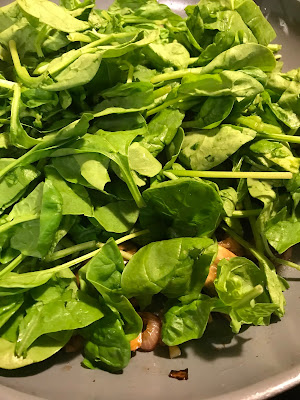
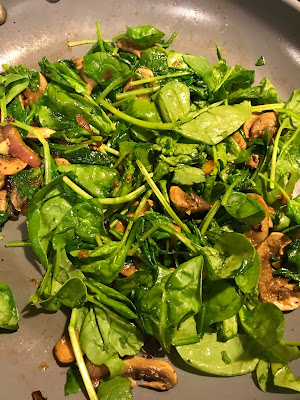
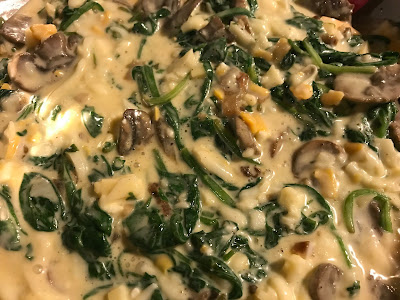
Recipe: Spinach & Mushroom Quiche With Self-Forming Crust (Picture Tutorial)
 I love food. I love talking about it, creating wonderful dishes, and feeding people. The kitchen is my happy place and I love conducting experiments there, whether the dishes are savory or sweet. I like to blog about it when I have time, in hopes that I might help or inspire others. I don't consider myself a food snob, though I am picky about how certain meals are prepared. I'm happy with a simple meal at home, like beans and cornbread, as well as a meal in a fine-dining establishment (and everything in between). I hope you enjoy my blog and leave me some feedback if you have time.
Thursday, July 22, 2021
Product Review: H.E.B. Multigrain Taco Shells
H.E.B Multigrain Taco Shells
Crunchy taco shells -- I often see debates about crunchy tacos vs. soft tacos. (That would be a good topic for another blog post.) Personally, I love them all. Sometimes I crave crunchy; sometimes soft. It just depends on mood and ingredients on hand.
These H.E.B. taco shells hit all of the right notes if you are craving crunchy tacos. They have a great corn flavor, and a nice crunch. Some of the other crunchy taco shells available from other companies often fall short on flavor. Sometimes the shells are just too thick too.
But not H.E.B.'s taco shells. They are just right. The product featured in the photo above is made with "H.E.B. Select Ingredients." The Select Ingredients line was introduced in 2016, and they pledged to have 400 Select Ingredients products available for purchase in their stores by the end of that year. I'm sure there are many more now.
According to H.E.B, the Select Ingredient products omit the use of HFCS (high-fructose corn syrup), artificial flavors, and synthetic ingredients. I believe them. The flavor of these taco shells speaks for itself.
The price is right for these tacos if you are planning a party. The only drawback I have experienced thus far are the breakage points. The embedded flax seeds cause these shells to fracture differently than regular shells. Sometimes several fractures occur and the resulting pieces are smaller. But that's not necessarily a bad thing. The smaller pieces are more convenient when you go in for the grand finale to enjoy that "taco salad" left on your plate after you finish your tacos. 😆
Here's the front of the box these shells were packed in, plus the sides with nutritional info:

 I love food. I love talking about it, creating wonderful dishes, and feeding people. The kitchen is my happy place and I love conducting experiments there, whether the dishes are savory or sweet. I like to blog about it when I have time, in hopes that I might help or inspire others. I don't consider myself a food snob, though I am picky about how certain meals are prepared. I'm happy with a simple meal at home, like beans and cornbread, as well as a meal in a fine-dining establishment (and everything in between). I hope you enjoy my blog and leave me some feedback if you have time.
Tuesday, July 20, 2021
An Exciting Moment For My Bienenstich Cookie Recipe
I was out working one of my jobs when I got some exciting news about my Bienenstich Cookie recipe. I checked my email (while I was parked) and saw that I had an email which informed me that my recipe is being featured at delishably.com. I almost fell out of the car!
I am still dancing around!
Click the recipe title below to view it there. I did post about it here, but I didn't post the full recipe here. I posted the full recipe on my hub at Hubpages (because they have such nice tools there to make it easier to post recipes). I wasn't trying to get featured on anything, I was just sharing my recipe. So.....WOW!!!!! What a nice surprise!!!!!!! There goes that "Kitchen Magic" again!!!
On top of that, before I left, I had a discussion with my Mom about 2 new ideas I had for experiments. I have quite a list, so I'll be dedicating a lot more time to it now.
They changed the title a bit, and did a few other minor edits, but that's just fine with me!
So, without further ado, here is the link:
Bienenstich Cookies: A Beloved Cake Transformed
If you try my recipe, please let me know your thoughts about it, or if you need help with anything.
Now it is time for me to get back to the lab to conduct more sweet experiments!
Happy Eating!
 I love food. I love talking about it, creating wonderful dishes, and feeding people. The kitchen is my happy place and I love conducting experiments there, whether the dishes are savory or sweet. I like to blog about it when I have time, in hopes that I might help or inspire others. I don't consider myself a food snob, though I am picky about how certain meals are prepared. I'm happy with a simple meal at home, like beans and cornbread, as well as a meal in a fine-dining establishment (and everything in between). I hope you enjoy my blog and leave me some feedback if you have time.
Monday, July 19, 2021
Kitchen Tip: Microwave "Baked" Potatoes - No Poking Required
 I love food. I love talking about it, creating wonderful dishes, and feeding people. The kitchen is my happy place and I love conducting experiments there, whether the dishes are savory or sweet. I like to blog about it when I have time, in hopes that I might help or inspire others. I don't consider myself a food snob, though I am picky about how certain meals are prepared. I'm happy with a simple meal at home, like beans and cornbread, as well as a meal in a fine-dining establishment (and everything in between). I hope you enjoy my blog and leave me some feedback if you have time.


