Chocolate Steam Cake
You must try this cake recipe! It's great for those days when you are craving a piece of cake, but don't want a big hassle of dragging out all of your baking tools, and great for warmer weather when you don't want to heat up the kitchen by using your oven. And if you're thinking, "but I could just buy a piece of cake at the deli..." Pfffft!!! Forget about that over-priced nonsense that's overloaded with sugar!
You don't even need to break out your mixer for this cake if you don't want to. A handheld balloon whisk works fine.
What Should I Use For A Steamer?
I used an 8 quart stockpot with a reinforced bottom, and we just happened to have a round metal baking rack that fits in the bottom of this pot. We also have a lid that has a built-in steam vent. If you don't have a lid like that, you'll need to loosely cover your stockpot with foil. If you don't have a baking rake that will fit, you can use several balls of wadded up foil, or save up some tuna cans (or cans similar in size to tuna cans, with both ends removed, if possible), and use those instead. Canning rings are too short. You need about 1 1/2-2 inches of water in the bottom of your steaming pot. You might be able to get away with using a shorter pot (such as a 4 quart pot). Next time I make one I'll use one of those and report the results here.
Here are the other tools that come in handy:
2 mixing bowls
Handheld whisk
Spatula (for bowl scraping - not mandatory, but I'm picky, so I use one)
Kitchen tongs with silicone ends, 2 pairs, if you have them (for easy removal)*
8-9" cake pan or springform pan
Sifter (not mandatory but it does help)
Measuring cups (for liquid & dry measure)
Measuring spoons
Small bowl for egg inspection & egg beating (see "Breaking Bad With Eggs")
The Recipe
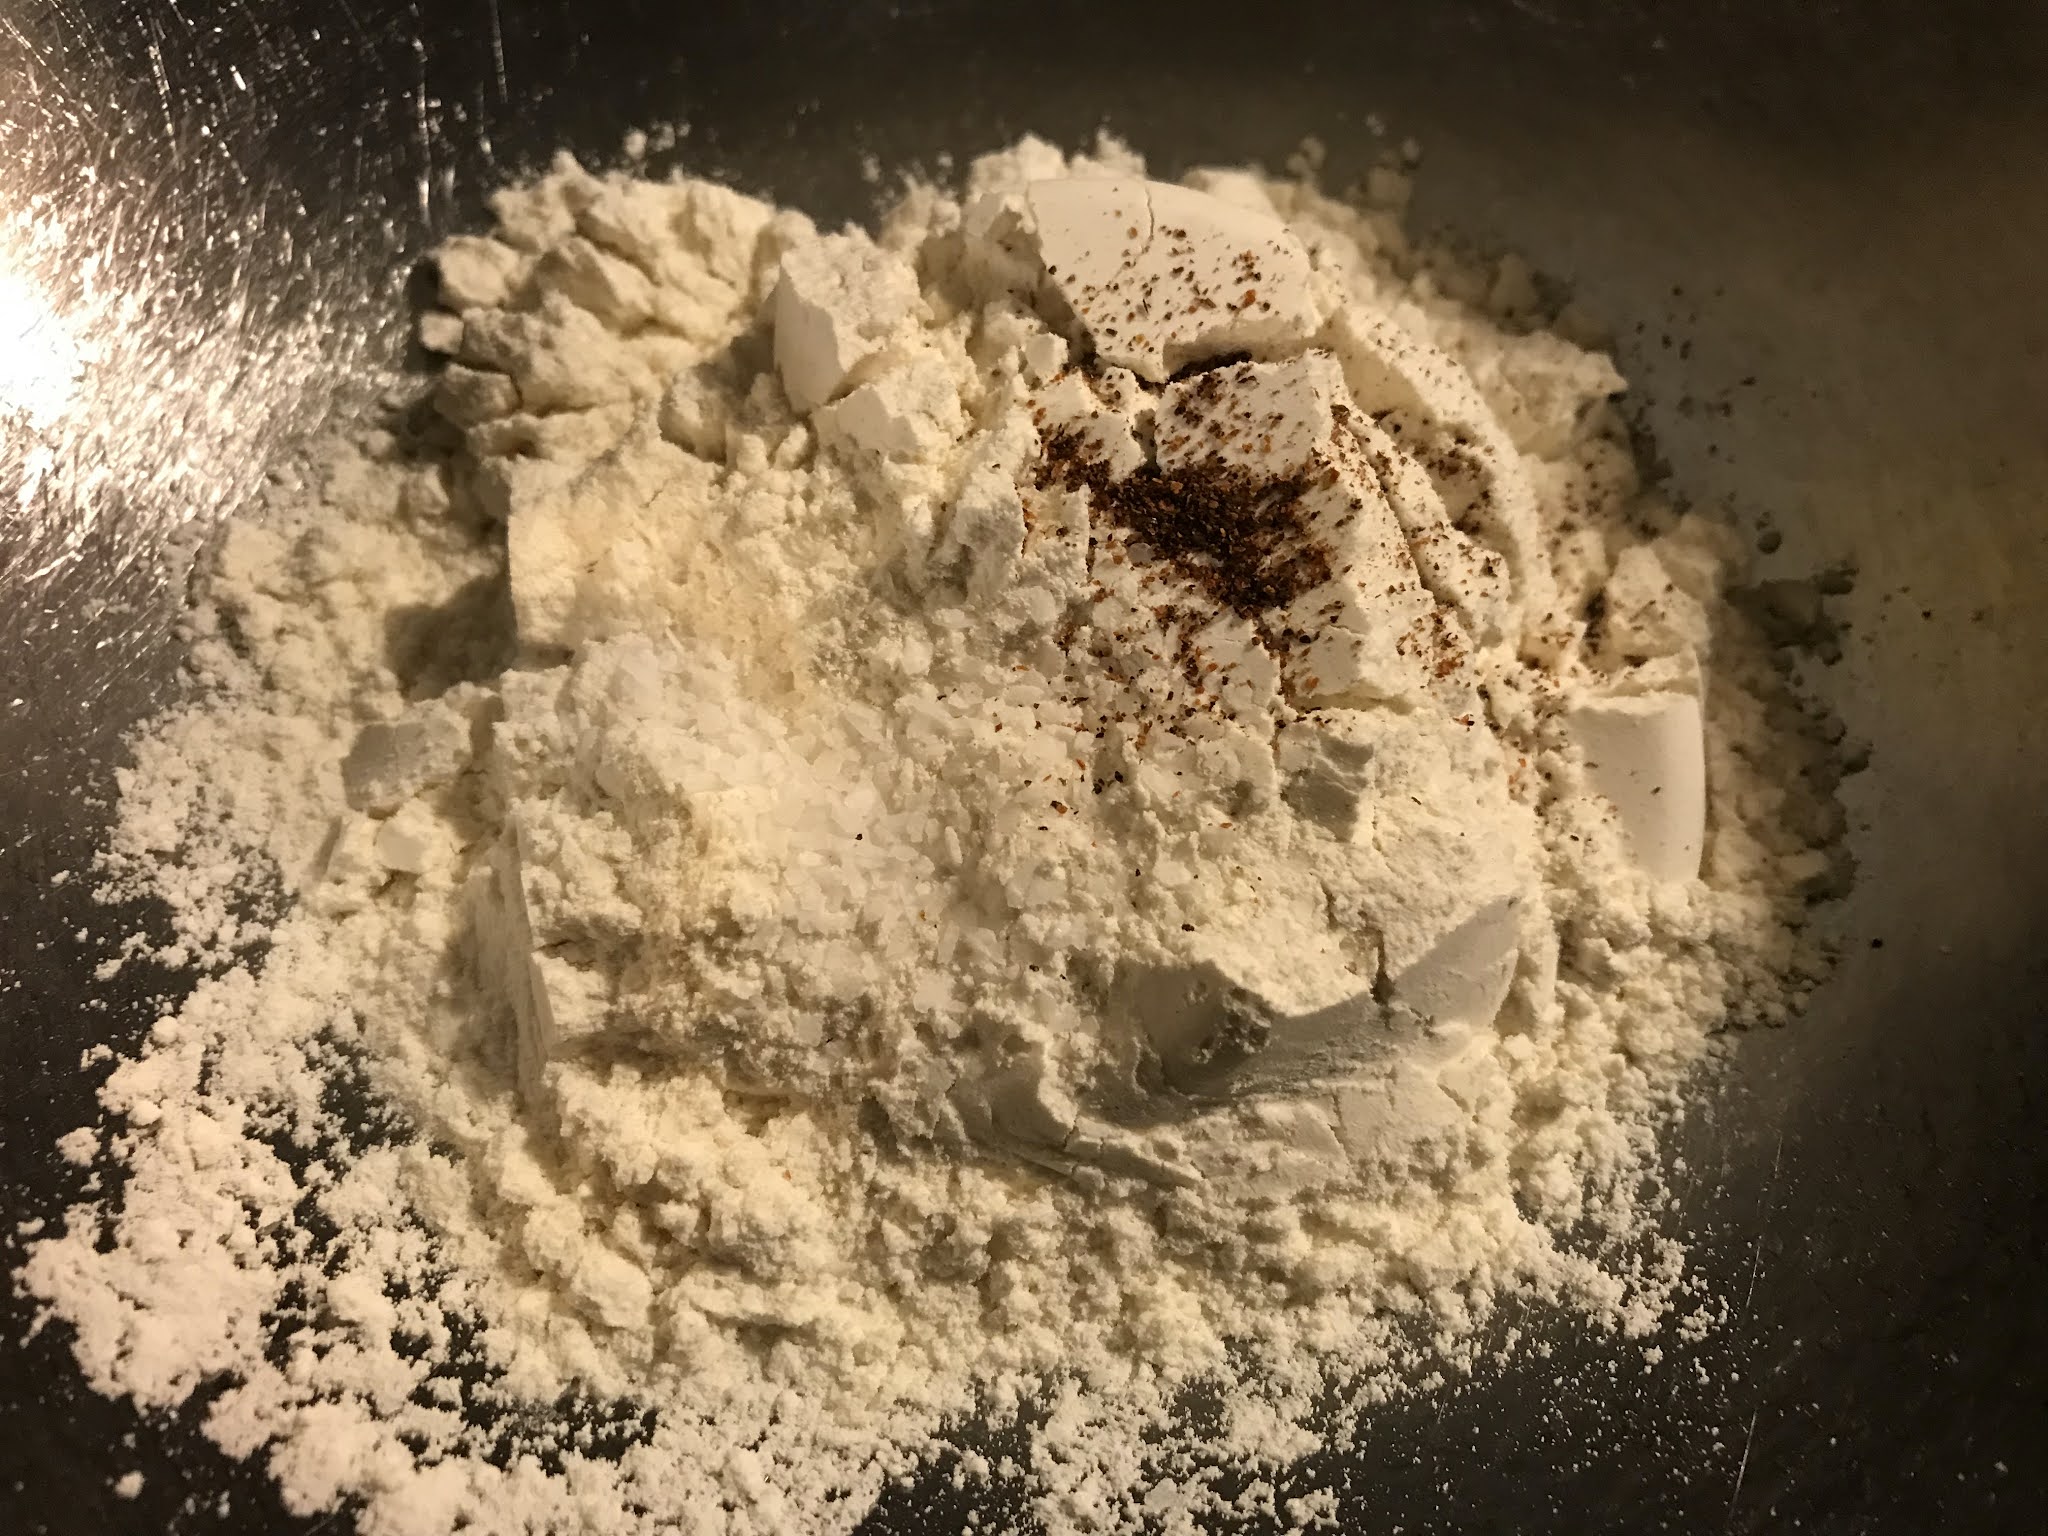
1 cup A/P flour
1/3 cup cocoa powder
1 tsp. baking powder
1 tsp. baking soda
3/4 to 1 cup sugar
1/2 tsp. salt
2 eggs (room temperature)
1/4 cooking oil (canola, vegetable, light olive oil, or coconut oil)
1/2 milk
1/2 tsp. vanilla
1/4 tsp. instant coffee (optional)
Spray release/oil spray (with or without flour)
Water for steaming (as needed)
Instructions
1. Prepare your steamer & start heating the water on high heat.
2. Coat inside of cake pan or springform pan with spray release.**
3. Sift all dry ingredients into a mixing bowl, and whisk them until well combined.
4. Mix milk, oil, and vanilla in a separate bowl.
5. Beat eggs & add to milk/oil/vanilla mixture. Mix well.
6. Add wet ingredients to dry ingredients and mix well.
7. Pour into cake pan.
8. Check the water level in the pan. Add more (hot tap water) if needed. Water should be at least at a simmer at this point.
9. Carefully lower cake pan into pot using tongs.
10. Cover & steam on medium to high heat for 25-30 minutes. You can check your water level about halfway through the cooking time & add more if needed. I haven't yet had a problem with the water completely evaporating. It might be because we have that lid with the steam vent. I'll use foil next time and report the results here.
11. Test the cake in the usual manner, (toothpick, slim knife, bamboo skewer), if it comes out clean, it's time to remove the cake. Also note if the cake has pulled away from the sides, that's another "tell."
12. Remove the cake very carefully using the tongs. Put it on a cake rack to cool for about 10 minutes before removing from pan.
13. Frost with your favorite frosting or dust with powdered sugar. It doesn't really need anything extra at all. It's very good just as it is.
Just One More Thing (or two)
*About those tongs - I only had one pair on hand, so I used a long serving spoon as a wedge on one side of the pan, and the tongs on the other. If you don't have tongs at all, carefully wedge it out using 2 long serving spoons, and grab the edge with a pot holder when it gets high enough to grab. (I'm thinking there might be a 3rd option for a safe removal. I will try it next time and report the results here.)
**If you decide to use a springform pan, cover the bottom with foil, just as you would if you were making a cheesecake in the oven.
The cake top of the cake will look a little strange because some water drops will be falling on it during steaming. It's just fine. Unless the top of the cake looks VERY wet, then you might need to make some adjustments next time so your foil vents the steam a little better.
Use your favorite cocoa. I used Hershey's Special Dark cocoa in this recipe.
Let me know what you think about this cake. Any issues? Just leave me a message in the comment section.
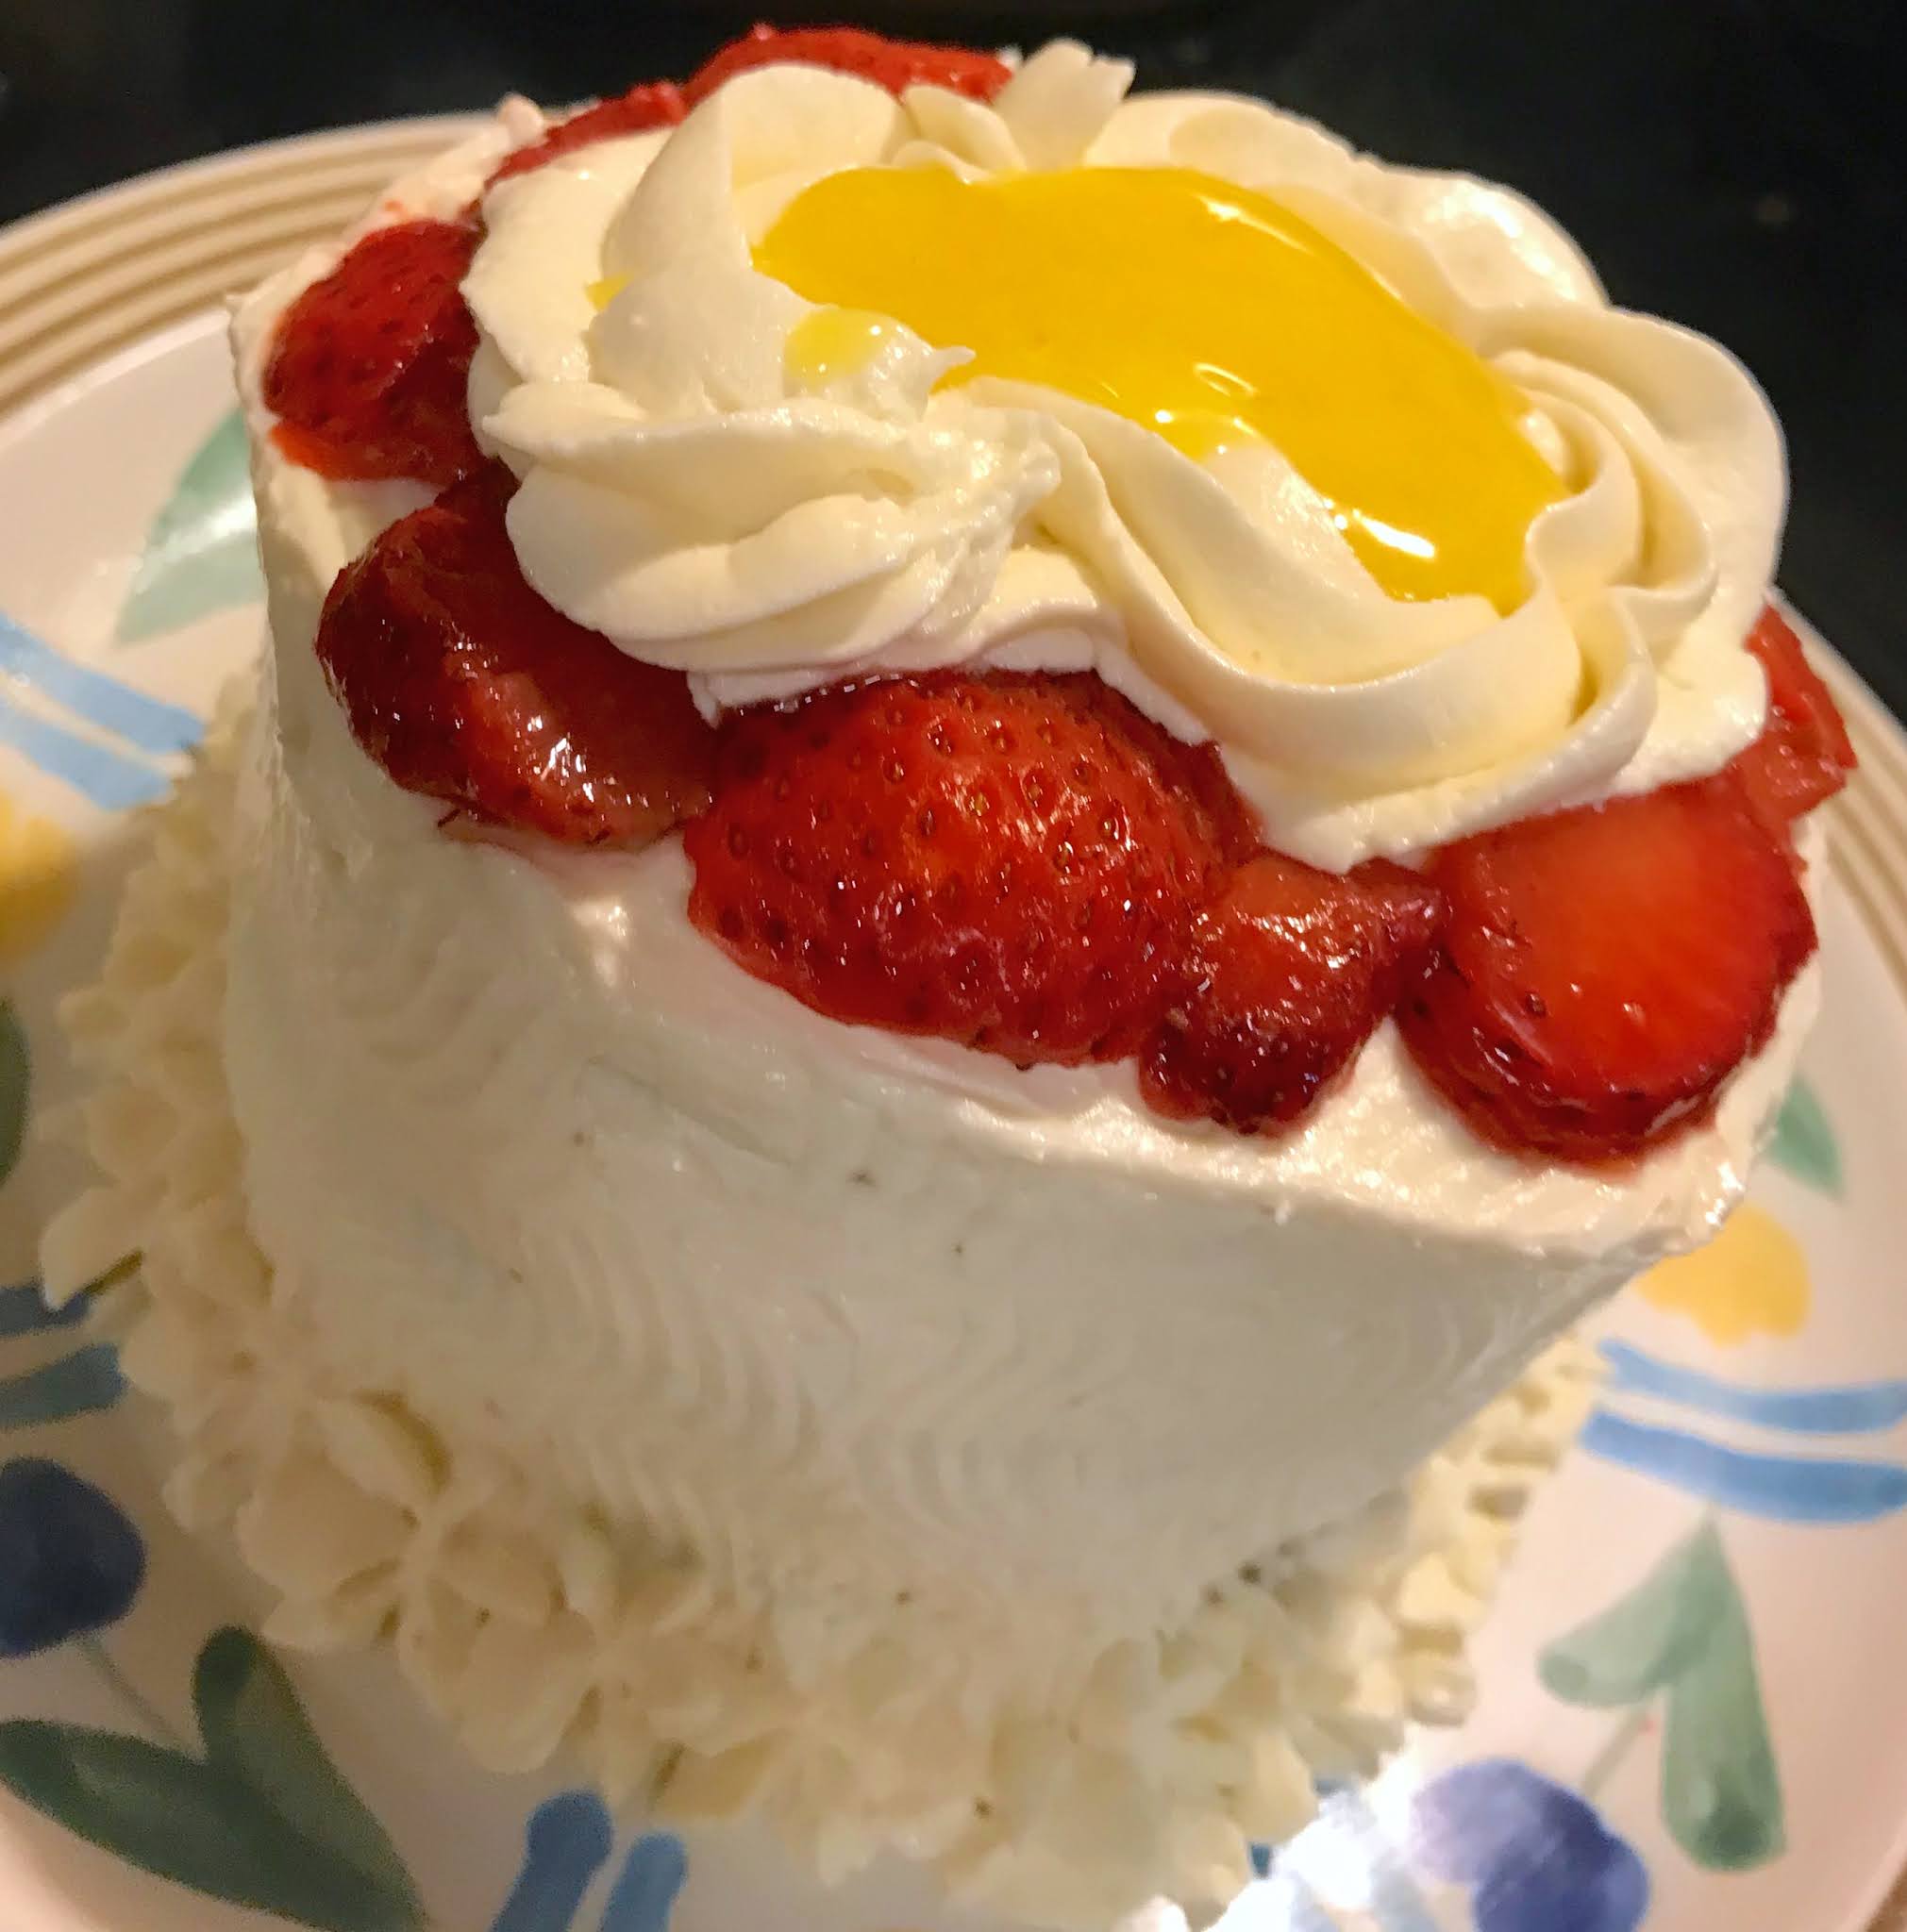
Here's a pic from an evening when I got a little fancy and frosted the cake with whipped chocolate-cream cheese ganache and golden sugar crystals.